This article will teach you how to effectively organize the space under your kitchen sink, transforming it from a cluttered catch-all to a model of efficiency.
Key takeaways:
- Clear out everything: Get rid of outdated items and duplicates.
- Sort and dispose: Separate items into keep, donate, and trash piles.
- Choose appropriate organizers: Maximize space with bins, shelves, and hooks.
- Arrange items strategically: Place frequently used items in front and consider plumbing.
- Use labels: Keep everything organized and easily accessible.
Clear Out Everything
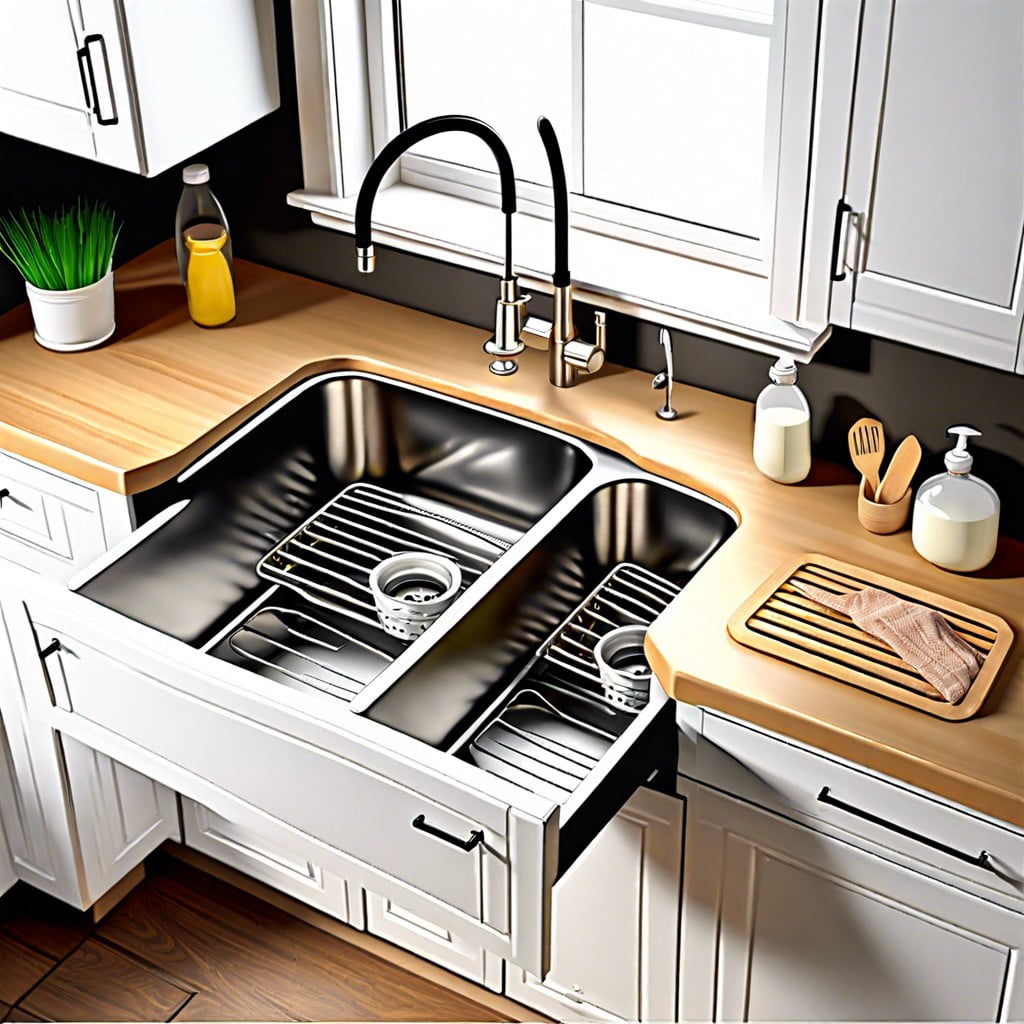
Dive into the abyss under your kitchen sink and haul out every last bottle, sponge, and stray shopping bag. It’s tempting to keep all these potentially useful items, but be ruthless.
- Throw out anything that’s outdated, like those old cleaning products lurking back there since the last spring cleaning.
- Remove duplicates. Really, one multi-surface cleaner is probably enough.
- If you haven’t used it in a year, chances are you won’t miss it.
Think of this as a treasure hunt—sometimes you need to dig a little to realize what’s truly valuable!
Sort and Dispose
Begin by making piles: keep, donate, and trash. Assess each item with a critical eye—those mystery sponges with questionable origins can probably go. Expired cleaning products? Definitely a no-go. Remember the adage: When in doubt, throw it out. This task isn’t just about making room but rediscovering what you have. You might even find that long-lost pot scrubber you replaced months ago. This process not only declutters the space but also clarifies what you actually need to store under your sink.
Choose Appropriate Organizers
When selecting organizers, think like a Tetris champion. Assess the dimensions of your under-sink area and consider stacking bins or shelf inserts to maximize vertical space. Slide-out baskets or drawers are perfect for easy access — no more rummaging! Transparent containers let you see what’s inside without the need for a scavenger hunt, and hooks or over-the-cabinet racks can be useful for hanging cleaning cloths or gloves.
Look for materials that resist moisture, such as plastic or stainless steel, to avoid mold and rust issues. And if you’re dealing with pipes that make the space awkward, flexible, soft-sided organizers can wiggle in nicely around those tricky spots. Keep in mind the weight of items stored; heavier cleaning supplies might need sturdier shelves.
Arrange Items Strategically
Start by placing items you frequently use, such as dishwashing soap and sponges, in front for easy access. Rarer necessities like special cleaning solutions or bulky items can be stored towards the back. Consider the plumbing—keep items away from pipes to avoid damage from leaks or condensation. If vertical space allows, stackable bins can be a great way to conserve space and keep things neat. Also, consider the weight of stored items; heavier items should go on the bottom to prevent toppling. Keeping a clear path to the drain and garbage disposal will save future headaches during urgent maintenance.
Use Labels
When everything has its place, labels are the secret sauce that keeps the system functioning smoothly. They help everyone in the household know exactly where items should go, which is especially handy after a big grocery haul. Consider waterproof labels for items that might get damp and opt for a clear, easy-to-read font.
For frequently used products, position the labels at eye level so a quick glance is all it takes to find what you need. This little step not only saves time but also minimizes the mess created from searching through supplies. Plus, it’s always a small triumph when you don’t knock over a fortress of dish soap bottles just to grab the sponge!
Read more...
 Clean Office: The Ultimate Guide to Boosting Productivity
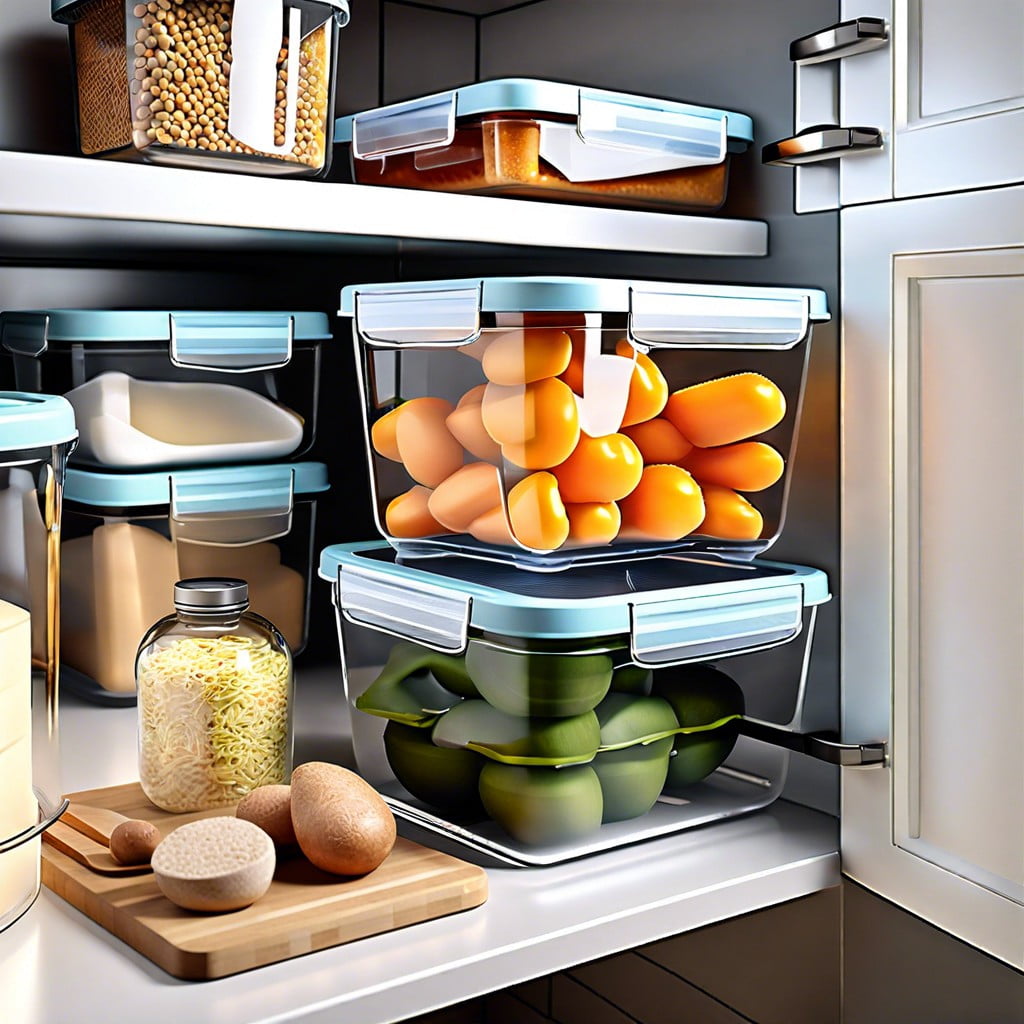 10 Ingenious Kitchen Storage Ideas To Transform Your Space
 10 Storage Room Ideas to Maximize Your Space
 Home Organization Services: Your Guide to Choosing the Right One
 Organizing and Decluttering Services Near Me: Your Guide to Local Expert Help