Transform your cluttered space with these 10 easy steps!
Have you ever walked into a cluttered room and felt overwhelmed? That was me just a few years ago. My home was filled with piles of clothes, stacks of papers, and random items scattered everywhere.
I knew I needed to do something about it, but I didn’t know where to start.
One day, while scrolling through Instagram, I stumbled upon an account dedicated to decluttering and organizing. The before-and-after photos were inspiring, and the tips seemed doable.
So I decided to give it a try.
I started small by tackling my closet. It wasn’t easy at first – letting go of clothes that no longer fit or that had sentimental value was tough – but as soon as I saw the space transform into an organized oasis, I felt a sense of relief wash over me.
From there, I moved on to other areas in my home – the kitchen counters, my desk area, and even the garage. And a newfound sense of peace came with each space that became clutter-free and organized.
Nowadays, when friends compliment how clean and tidy my home looks (which happens more often than not), they always ask for my secret. So here it is: 10 easy steps will help you transform your space too!
Set Clear Goals
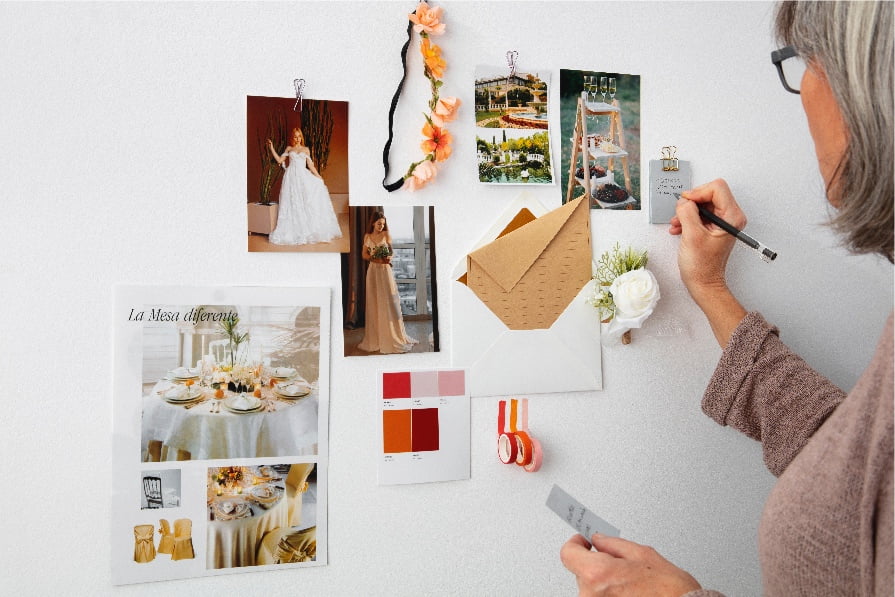
Once I started decluttering my home, I quickly realized it wasn’t just about getting rid of stuff. It was also about setting clear goals for my space’s look and feel.
Without a vision, it’s easy to get sidetracked or overwhelmed by the process.
The goal was simple: create a peaceful and organized home that felt welcoming to both myself and my guests. With this in mind, every item that didn’t serve this purpose had to go.
Setting clear goals helped me stay focused throughout the decluttering process. It gave me direction when deciding what items were worth keeping versus letting go of – if an item didn’t align with my vision for my space, it had no place.
So before you start decluttering your own space, take some time to set clear goals for what you want your home environment to look like once you’re done.
This will help guide your decision-making process as you sort through each item one by one – making sure everything left behind serves a purpose toward achieving those end goals!
Sort By Categories
Once you’ve decided to declutter, it’s essential to have a plan of attack. One of the most effective ways to tackle clutter is sorting items into categories.
This method not only helps you see how much stuff you have, but it also makes it easier for you to decide what stays and what goes.
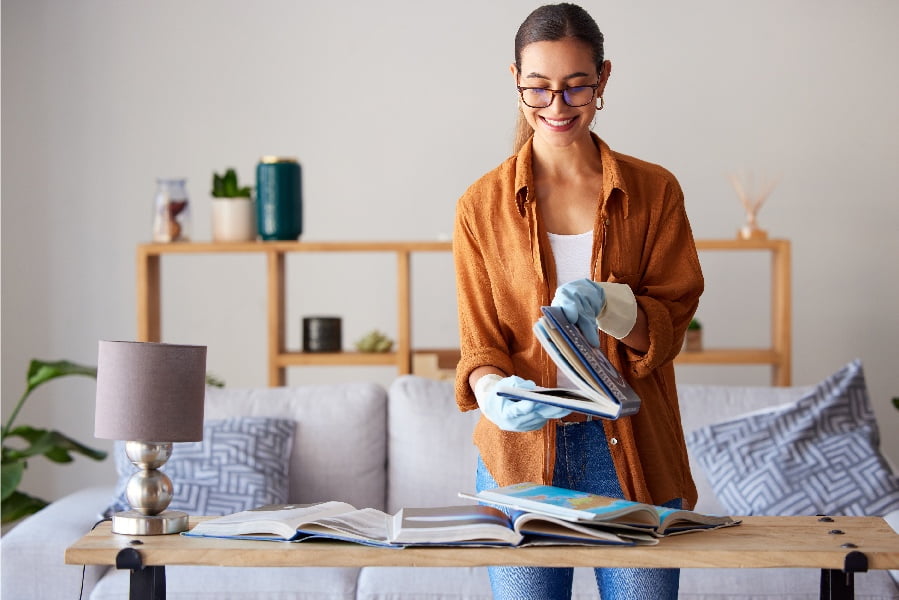
When I first started decluttering my home, I was overwhelmed by the sheer amount of stuff that had accumulated over time. But as soon as I began sorting items into categories — clothes, books, papers — things started falling into place.
Having all my clothes in one pile allowed me to see how many pieces I owned (spoiler alert: too many). It also helped me identify which ones were worn out or no longer fit properly.
Sorting through paperwork was another eye-opening experience. By creating piles of bills and important documents versus junk mail and old receipts, I quickly got rid of unnecessary paper clutter while keeping track of essential information.
So if you’re feeling stuck on where to start with your decluttering journey, try sorting your belongings by category first. You might be surprised at just how much progress can be made with this simple step!
Use the 4-Box Method
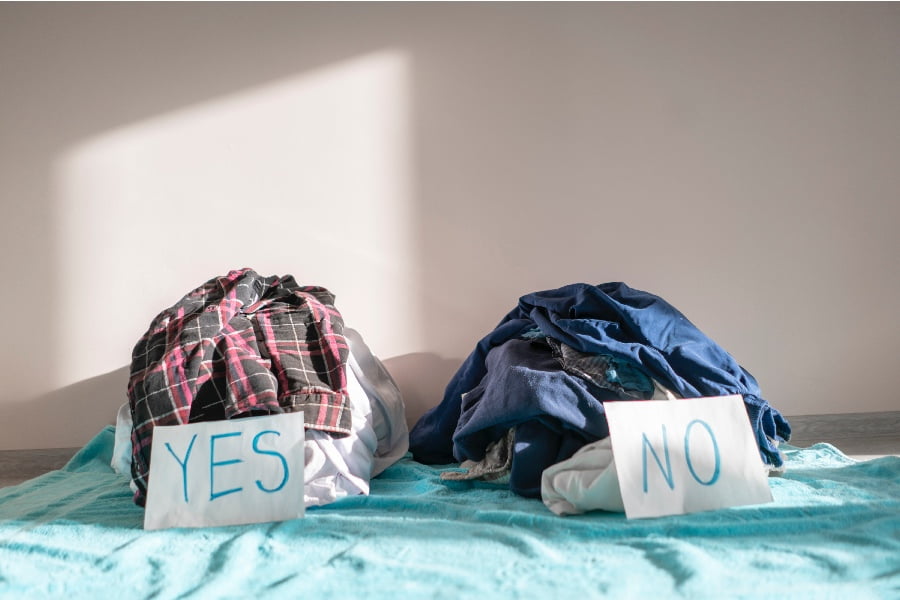
As I continued my decluttering journey, I discovered a method that made the process much easier: the 4-box method. This simple technique involves labeling four boxes or bags with “Keep,” “Donate/Sell,” “Trash/Recycle,” and “Undecided.” As you go through your belongings, place each item in one of these categories.
At first, it was hard to let go of things with sentimental value or items that I thought might be useful someday. But as soon as I started seeing progress – empty spaces where there used to be piles of clutter – it became addicting.
I remember going through my book collection and realizing how many books were just taking up space on my shelves. Using the 4-box method helped me decide which ones to keep (the ones with sentimental value or those that sparked joy) and which ones could be donated for someone else to enjoy.
The best part about this method is its flexibility; you can use it for any room in your home and adjust it based on your needs. It’s also a great way to involve family members with different opinions on what should stay or go.
So give the 4-box method a try during your next decluttering session! You’ll be amazed at how much easier it makes to let go of things you no longer need while keeping what truly matters most.
Discard Duplicates
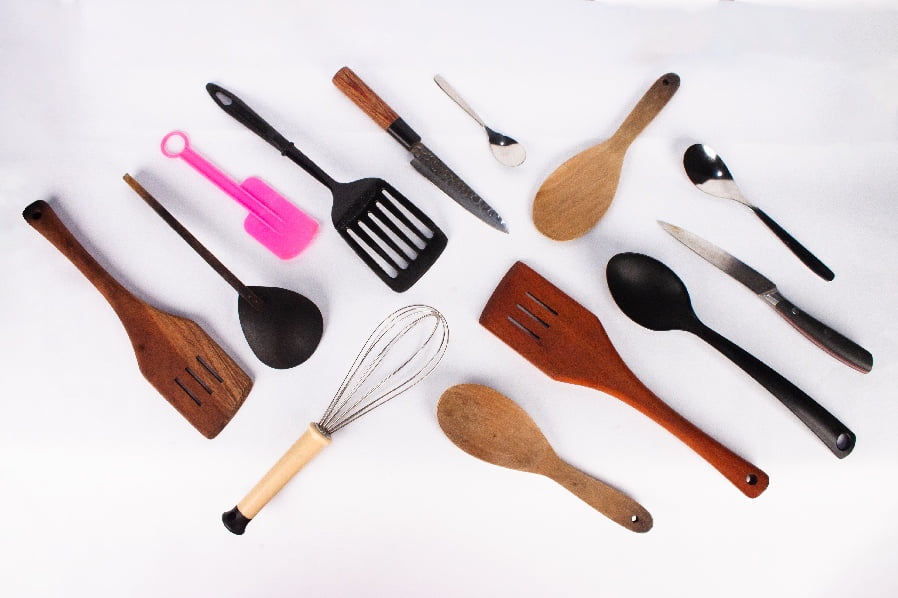
As I continued my decluttering journey, I realized that duplicates were one of the biggest culprits of clutter in my home. How many spatulas does one person need? And why did I have three sets of measuring cups? I quickly learned that eliminating duplicates freed up space and made it easier to find what I needed when cooking or cleaning.
To tackle this issue, review your kitchen drawers and cabinets. Pull out all the utensils and gadgets you have multiples of and decide which ones you use most often.
Keep those items and donate or sell the rest. The same goes for clothing – do you really need five black T-shirts? Or four pairs of jeans that fit almost identically? Keeping just a few favorites will simplify getting dressed in the morning.
By discarding duplicates, not only will your space feel less cluttered, but you will also be more intentional with items that serve a purpose in your life.
Prioritize Sentimental Items
As I mentioned earlier, decluttering sentimental items can be tough. But it’s important to remember that memories are not tied to physical objects – they live within us.
So when you’re going through your belongings, take a moment to reflect on why certain items hold meaning for you. For me, it was a box of old letters and cards from friends and family members who had passed away or moved far away.
At first, I couldn’t bear the thought of getting rid of them – they were tangible reminders of people who meant so much to me. But then I realized that keeping these items in a dusty box wasn’t good for anyone.
Instead, I decided to display some of my favorite letters in frames around my home to honor those relationships and keep their memory alive.
When deciding what sentimental items are worth keeping or displaying versus letting go of (or storing), ask yourself if the item brings joy or serves an essential purpose beyond just being something you feel obligated to keep because it has emotional significance attached.
Maximize Storage Solutions

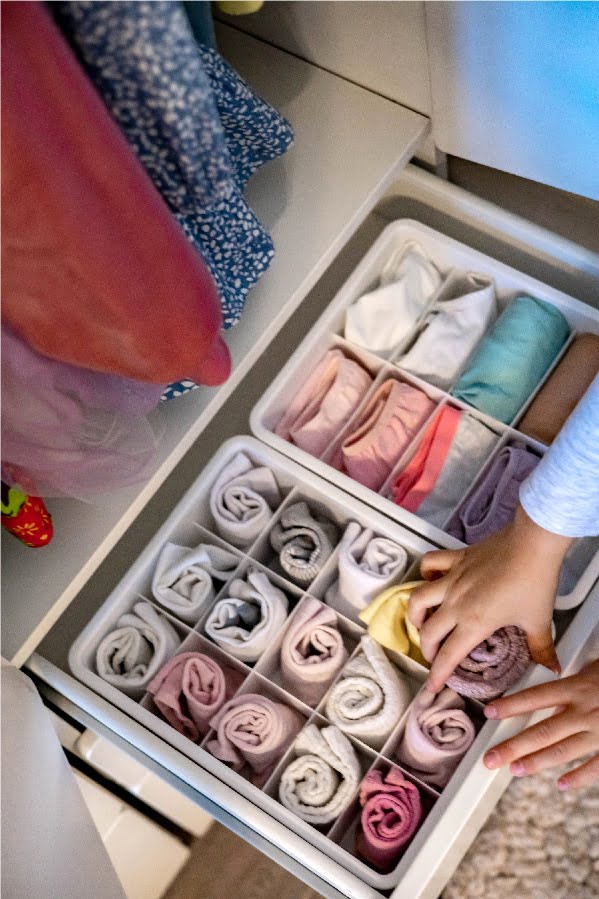
As I continued my decluttering journey, I quickly realized that maximizing storage solutions was key to maintaining an organized space. It’s not just about getting rid of things – it’s also about finding a place for the items you do want to keep.
One of the first things I did was invest in some storage containers and baskets. Not only do they look nice on shelves or under beds, but they also provide designated spaces for specific items.
For example, all of my winter scarves and hats now have a home in one basket instead of being scattered throughout various drawers.
Another great way to maximize storage is by utilizing vertical space. Install shelves or hanging organizers on walls to free up floor space and create more room for your belongings.
And don’t forget about hidden storage options! Ottomans with built-in compartments or bed frames with drawers underneath are perfect examples of furniture pieces that can double as extra storage spaces.
By incorporating these simple yet effective tips into your decluttering process, you’ll be amazed at how much more functional and spacious your living areas will feel – just like mine did!
Create Zones for Activities
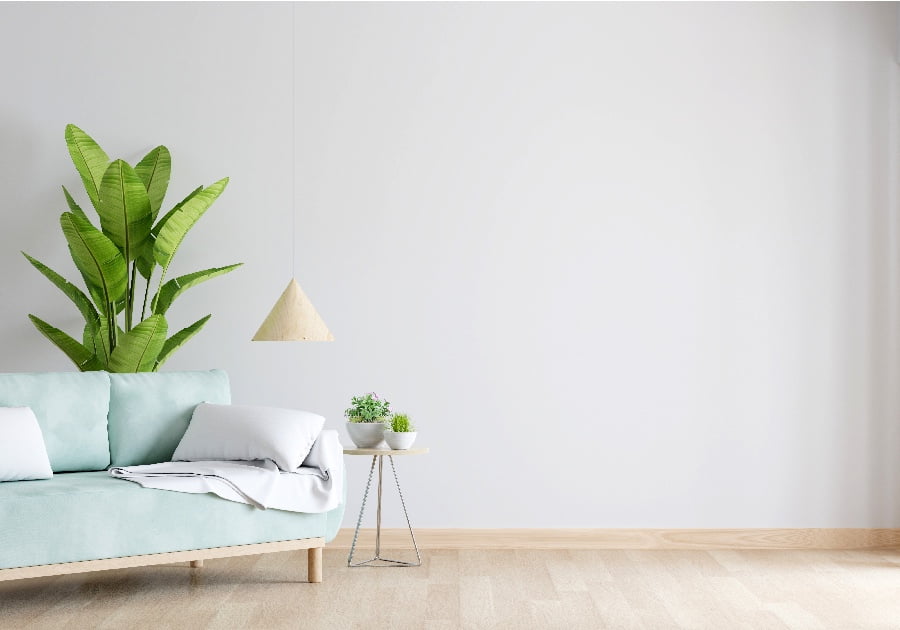
Once you’ve tackled the initial step of decluttering, it’s time to start organizing your space. One way to do this is by creating zones for different activities.
This means grouping similar items together and designating specific areas for them.
For example, I have a designated area for reading in my living room with a cozy armchair and a bookshelf nearby. In the kitchen, I have separate zones for cooking and baking with all necessary tools within reach.
Creating these activity-based zones makes it easier to find what you need and helps keep clutter at bay since everything has its place.
I remember when I first started implementing this tip; it was like discovering an entirely new world! Suddenly my home felt more functional than ever before – no more searching through piles of stuff to find one thing!
So take some time to think about how you use each room in your home and create designated spaces accordingly. You’ll be amazed at how much smoother things will run once everything has its own zone!
Maintain a Decluttering Routine

Once you’ve decluttered and organized your space, the key is to maintain it. It’s easy to fall back into old habits and let clutter accumulate again.
That’s why it’s important to establish a decluttering routine that works for you.
I set aside 10-15 minutes each day before bed to tidy up any items that may have been left out during the day. This includes putting away dishes, folding blankets on the couch, and making sure everything has its designated place.
I also do a deeper clean once a week, where I go through my belongings and get rid of anything that no longer serves me or brings me joy.
By maintaining this routine consistently over time, my home stays clutter-free without feeling like an overwhelming task.
Remember: Decluttering isn’t just about creating an aesthetically pleasing space – it can also improve your mental health by reducing stress levels associated with living in chaos.
Donate or Sell Unwanted Items

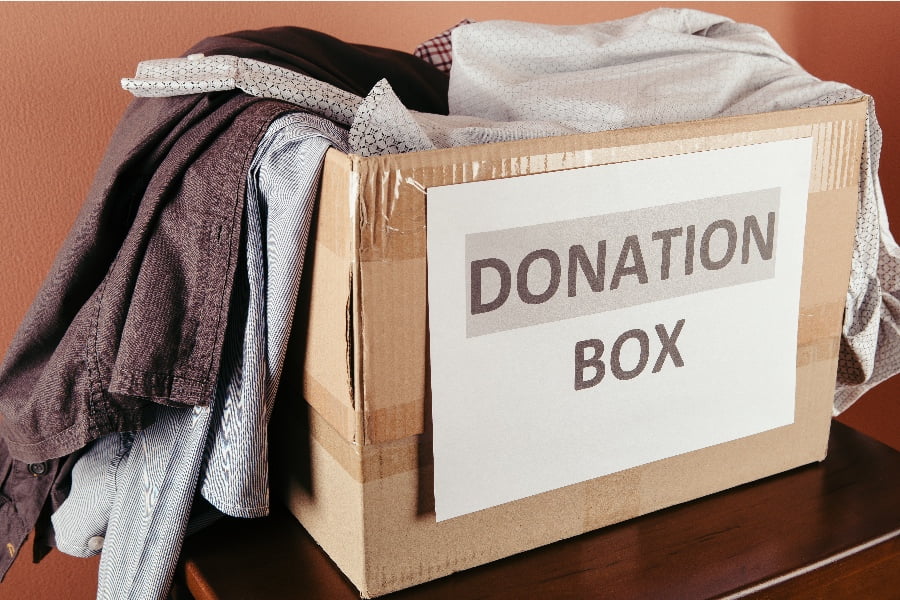
Once you’ve sorted through your belongings and identified what you no longer need or want, it’s time to decide what to do with them. One option is to donate or sell unwanted items.
For me, this step was crucial in my decluttering journey. I had a lot of clothes that were still in good condition but just didn’t fit my style anymore.
Instead of throwing them away, I donated them to a local thrift store where they could find new homes and be loved by someone else.
I also had some furniture pieces taking up space but weren’t being used. So I listed them for sale online and made some extra cash while freeing up valuable real estate in my home.
Donating or selling unwanted items helps clear out your space and can benefit others who may be looking for those exact things. Plus, the extra money from selling items can go towards organizing supplies or even treating yourself after all the hard work!
Invest in Quality Organizers
Once you’ve sorted through your belongings and decided what to keep, it’s time to find a home for everything. This is where investing in quality organizers comes in handy.
Not only do they help maximize space, but they also make it easier to maintain an organized environment.
When I started decluttering my home, I used whatever containers or baskets I had. But as I continued the process and accumulated more items that needed organizing, those makeshift solutions weren’t cutting it.
That’s when I decided to invest in high-quality organizers – from drawer dividers and shelf risers to clear plastic bins with labels. These helped me create designated spaces for each item and made finding things much easier.
Plus, having aesthetically pleasing storage options can motivate you to keep up with the organization process! Trust me; there’s nothing quite like opening a closet or cabinet door and seeing everything neatly arranged inside its little compartment.
Investing in quality organizers may seem unnecessary at first glance – especially if you’re trying not to spend too much money during this process – but trust me when I say these tools will be worth every penny spent!
Related Stories
- Decluttering Personal Items: A Step-by-Step Guide to Tidying Your Space
- KonMari Method: Transform Your Life Through the Magic of Tidying Up
- How to Declutter: A Comprehensive Guide for a Clutter-Free Home
- Decluttering Challenges: Fun and Effective Ways to Overhaul Your Home
- Decluttering for Seniors: A Practical Guide for a Safe and Comfortable Home